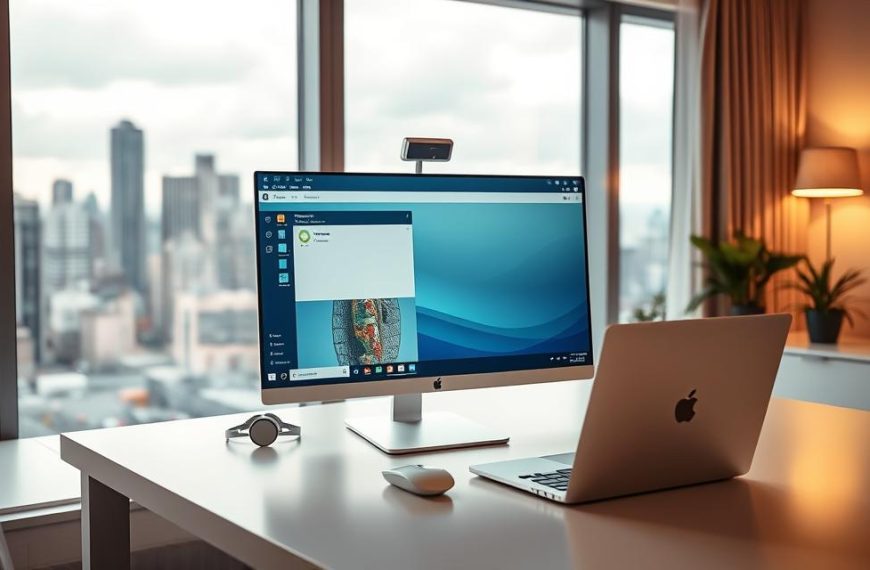
Having a strong network connection is key for today’s computers. It’s vital whether you work from home or watch videos online. The right internet setup means you can access everything you need without trouble.
This guide covers both wired Ethernet and wireless Wi-Fi setups. Each has its own benefits for different needs.
Wired connections are great for tasks that need lots of speed and stability. Wireless setups are better for moving around your space.
Knowing about computer networking helps you pick the right option. We’ll show you how to set up both in easy steps.
Getting your setup right means better performance and safety. Let’s start your path to better internet.
Essential Network Equipment for Both Connection Types
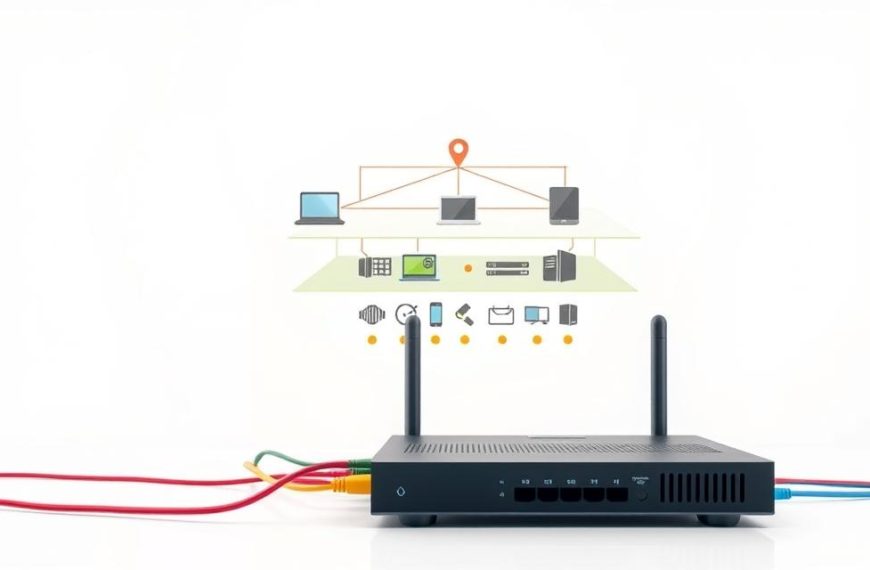
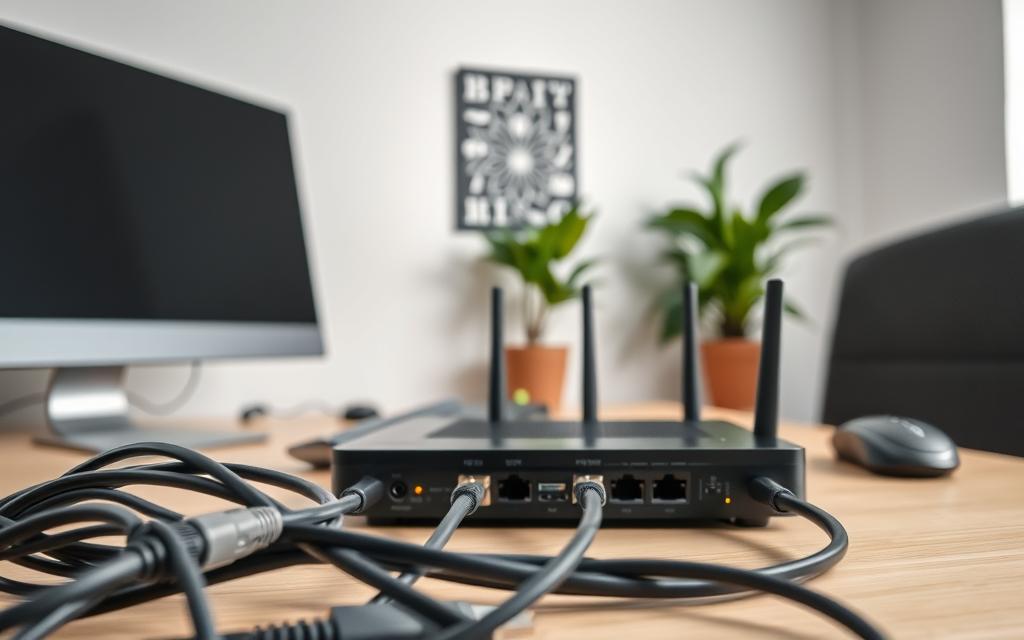
Before setting up a network, knowing the basic hardware is key. The right gear means fast and secure connections for wired and wireless setups. This part talks about the must-have network hardware for each type and offers tips for choosing wisely.
Required Hardware for Wired Connections
Wired connections are faster and more stable than wireless ones. You’ll need:
- Ethernet cable: Use Category 6 (Cat6) or better for the best results
- Broadband modem (usually given by your internet provider)
- Network switch (for linking many devices)
- Network interface card (most computers have this built-in)
When picking an Ethernet cable, think about its length and quality. Shorter cables have better signal quality. High-quality cables ensure fast data transfer.
Necessary Components for Wireless Setup
Wireless networks need special gear to send and receive signals well. You’ll need:
- Wireless router (the heart of your network)
- Wireless adapter (if your computer doesn’t have one)
- Modern routers that support Wi-Fi 6 (802.11ax)
- Optional range extenders for bigger areas
Most laptops have built-in wireless. Desktops might need a separate adapter. Check your computer’s wireless options in Device Manager:
- Press Windows Key + X and open Device Manager
- Expand the Network adapters section
- Look for “Wi-Fi” or “Wireless” in the list
Choosing Between Router Brands: TP-Link, Netgear, and Linksys
Picking the right router brand is key for a good network. Here’s a comparison of three top brands:
| Brand | Key Features | Ideal For | Price Range |
|---|---|---|---|
| TP-Link | Great value, easy to use, good parental controls | Those on a budget, small homes | £40-£150 |
| Netgear | Top performance, advanced features, reliable updates | Gamers, big homes, tech enthusiasts | £80-£300 |
| Linksys | Strong mesh systems, consistent coverage, business options | Whole-home coverage, mixed device setups | £100-£400 |
When comparing routers, think about your needs. Consider coverage area, device count, and internet speed. Each brand has its strengths based on your needs and budget.
Choosing quality network hardware from trusted brands is wise. Your router is the base of your network. So, pick it carefully.
Preparing Your Computer for Network Connection
Before you start, make sure your computer is ready for the network. Check your hardware, install needed software, and set up basic settings. These steps help avoid problems later.
Checking Your Computer’s Network Capabilities
First, see if your computer can connect to the network. Most computers have both wired and wireless adapters. It’s good to check this.
To check your network adapter, open Windows Device Manager. Right-click the Start button and choose it. Look under “Network adapters” for your hardware. If you see “Ethernet adapter” or “Wi-Fi adapter,” you’re good to go.
If you don’t see any adapters, your computer might need extra hardware. You might need a USB Wi-Fi dongle or an Ethernet card.

Installing Necessary Drivers and Software
Drivers are key for your hardware to work right. Old or missing drivers can cause issues. Start by finding your network adapter’s model.
Go to your computer’s website or the adapter’s support page. Look up your model to find the latest drivers. Download and install them, and restart your computer if asked.
Windows Update can update drivers for you. But installing them manually ensures you have the newest versions. Keeping drivers up to date improves your system’s performance and security.
Configuring Basic Network Settings in Windows 10/11
Setting up your Windows network settings helps your system find and connect to networks easily. You can find these settings in the Network & Internet section of your System Settings.
Make sure these settings are right:
- Network discovery should be turned on
- File and printer sharing enabled if needed
- IP address settings set to automatic (DHCP)
For most home networks, automatic settings are best. Windows 10 and 11 make it easy to set up with clear steps.
Getting your system ready is the first step to stable network connections. With everything set up, you’re ready to connect.
How to Connect Network to Computer Using Ethernet
Connecting via Ethernet gives you better stability and speed than wireless. It’s great for tasks like gaming, streaming, or big file transfers.
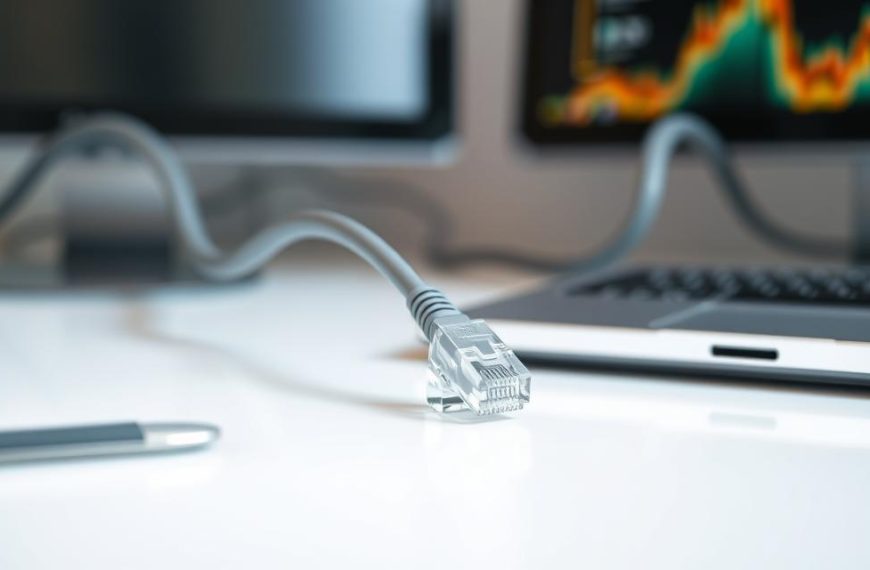
Step 1: Physical Cable Connection Process
Start by finding an Ethernet port on your router or modem. These are marked as “LAN” and have numbers.
Plug one end of your Ethernet cable into a LAN port. You’ll know it’s in right when you hear a click.
Then, plug the other end into your computer’s Ethernet port. Most computers have this port on the body. But some thin laptops might need a USB-to-Ethernet adapter.
Step 2: Configuring Wired Network Settings
Most operating systems set up Ethernet automatically. Windows 10 and 11 will connect quickly once you plug in.
If you want to set it up manually, go to Network and Internet Settings. Choose Ethernet from the side menu, then pick your network.
Using DHCP (automatic IP) is usually fine. But for more control, you can set static IP addresses and DNS servers in Properties.
Step 3: Testing Your Ethernet Connection
Check your connection in several ways. Try loading a website in your browser. If it works, you’re connected.
For more info, use network diagnostics. In Windows, right-click the network icon and choose “Troubleshoot problems.” This tool can fix common issues.
Speed tests give you exact numbers. Visit speed test websites to see your download and upload speeds. Compare these to your internet plan’s speeds.
For Dell Latitude users: Some models (E3, E4, Exx20, Exx30 Series) turn off Wi-Fi when they see an Ethernet connection. To keep both on, go into your BIOS settings. There, disable the “Wireless Radio Control” feature.
When you’ve tested your connection and it works, you know your wired setup is good. You’ll enjoy the fast and stable connection of a direct Ethernet link.
Establishing a Wireless Network Connection
Connecting to a wireless network makes your internet access flexible and mobile. You need to find available networks, secure your connection, and adjust settings for the best performance.

Step 1: Locating and Selecting Available Networks
Start your Wi-Fi setup by finding the network icon in your system tray. It’s usually in the bottom-right corner of your screen. Clicking it shows all nearby wireless networks.
Your computer will list network names (SSIDs) and signal strength. Pick a network with a strong signal and one you trust.
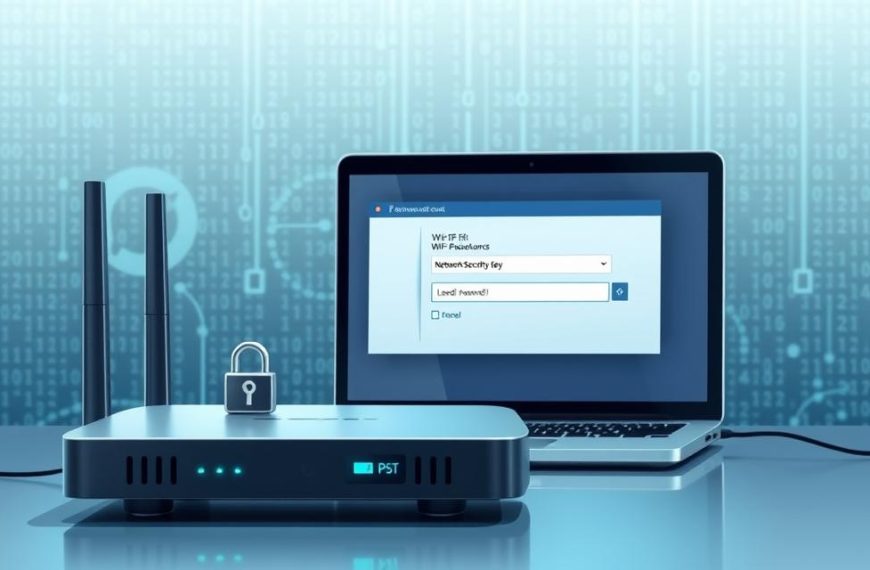
Step 2: Entering Security Keys and Authentication
Most networks need a password to access. When asked, enter your network security key carefully. This step keeps your data safe from hackers.
For better security, use WPA3 encryption if it’s available. It’s the latest and strongest encryption. Some routers also have WPS for easy pairing without passwords.
Step 3: Configuring Wireless Network Properties
After connecting, set up more settings for better performance and security. Windows lets you choose if a network is private or public.
Think about setting mobile data as metered to save data. For more help on wireless network setup, check Microsoft’s support page.
Right setup keeps your connection stable, secure, and meets your needs while protecting your privacy.
Troubleshooting Common Connection Issues
Even with the right setup, network connections can fail. This section offers solutions for common problems you might face.
Resolving Wired Connection Problems
Ethernet connections are usually reliable. But, issues can happen. Start by checking the physical parts.
Look for damage or loose connections in your Ethernet cable. Try a different cable if you can. Make sure both ends are well plugged into your computer and router.
Check your network settings. Ensure your adapter is on in Device Manager. Sometimes, just turning it off and on again fixes the problem.
If issues continue, try these steps:
- Update your network adapter drivers through Device Manager
- Test with a different router port if available
- Restart your router and modem by unplugging them for 30 seconds
Fixing Wireless Connectivity Issues
Wireless connections face challenges like signal interference and distance. Effective network troubleshooting for Wi-Fi needs a careful approach.
Begin with simple checks. Make sure your device’s Wi-Fi is on. Also, ensure you’re picking the right network and security key.
If you can’t connect, try these methods to fix Wi-Fi problems:
- Power cycle your modem and router by unplugging them for 30 seconds
- Move closer to your router to improve signal strength
- Try connecting to the other frequency band (2.4 GHz or 5 GHz)
- Test your connection on another device to isolate the issue
For ongoing wireless issues, update your wireless adapter drivers. Or, use an Ethernet connection to see if the problem is with wireless.
When to Contact Your Internet Service Provider
Some network problems need professional help. Knowing when to call your ISP saves time and stress.
Contact your provider for:
- Complete loss of internet on all devices
- Slow speeds that won’t improve with troubleshooting
- Frequent drops that affect many devices
- Suspected area-wide outages confirmed by neighbours
Before calling, have your account details, modem model, and symptoms ready. Many providers have online tools and support portals that can solve your issue faster than a phone call.
| Problem Type | Your Action | ISP Responsibility |
|---|---|---|
| No internet connection | Restart equipment, check cables | Line tests, area outages |
| Slow speeds consistently | Test with wired connection | Signal quality, bandwidth issues |
| Intermittent connection | Check all devices, router placement | Line maintenance, node issues |
| Equipment failure | Power cycle, factory reset | Replacement modem/router |
Many providers offer online chat and mobile apps for easier support. Keep a record of your troubleshooting steps. This helps technicians solve your problem faster.
Network Security Best Practices
Keeping your network safe is key to protecting your digital world from hackers. Whether you’re using cables or Wi-Fi, the right security steps keep your data safe and your network running smoothly.

Securing Your Wireless Network
Wireless networks need extra care because they send out your signal for others to pick up. Start by changing your router’s default login details. Many routers use easy-to-guess passwords.
Use WPA3 encryption if your router can handle it. It’s the strongest wireless protection out there. Make a strong network password with letters, numbers, and symbols.
Think about hiding your SSID to make your network harder to find. Also, keep an eye on devices connected to your network to spot any unwanted users.
Protecting Wired Connections
Wired connections are safer, but they need protection too. Keep Ethernet cables out of reach of visitors or strangers.
Network segmentation adds extra security for wired setups. Keep sensitive devices separate from others to limit damage from breaches.
Use MAC address filtering on your router to only allow known devices. This stops unknown computers from joining your network.
Regular Security Maintenance Tips
Regular upkeep keeps your network safe. Update your router’s firmware every three months to fix security holes.
Change your Wi-Fi password every three to six months, more often if you’ve let guests in. Make sure your operating system’s firewall is always up to date.
Do a security check every month to see who’s connected and review logs. Many routers have apps that make this easier.
| Security Feature | Recommended Setting | Update Frequency | Risk Level if Neglected |
|---|---|---|---|
| Router Admin Password | Unique 12+ characters | Every 6 months | High |
| Wi-Fi Encryption | WPA3 | When upgrading hardware | Critical |
| Firewall | Enabled | Automatic updates | High |
| Firmware | Latest version | Quarterly | Medium |
| Network Password | Complex phrase | Every 3-6 months | Critical |
Setting up these security measures creates strong defenses against threats. Remember, network protection is an ongoing effort, not just a one-time job.
Be proactive about your Wi-Fi security. Set reminders for maintenance tasks. Many breaches happen because people forget to update their systems.
Conclusion
This guide has covered setting up networks for both wired and wireless connections. You can choose between Ethernet’s stability and Wi-Fi’s flexibility. To get a reliable internet connection, follow these steps and use top brands like TP-Link, Netgear, and Linksys.
Setting up a network right means picking the right hardware and setting it up correctly. It also means keeping your network safe. For more on how to connect to the internet, check out this resource on network connections. Make sure to regularly check for problems and keep your network secure.
By using the tips from this article, you can create a stable and safe network. If you face any issues, look back at the relevant sections. A well-set-up network ensures your internet works smoothly and keeps your online activities safe.
FAQ
What hardware do I need for a wired network connection?
For a wired connection, you need an Ethernet cable and a modem. The Ethernet cable links your computer to the modem or router. This ensures a stable and fast connection.
What equipment is necessary for a wireless network setup?
A wireless setup needs a wireless router. It should support modern tech like 802.11ac or Wi-Fi 6 (802.11ax). Your computer also needs a wireless network adapter. Check for this in Windows via Device Manager.
How do I check if my computer has wireless capabilities?
Check your computer’s wireless capabilities by opening Device Manager in Windows. Look under “Network Adapters” for a wireless adapter. If you find one, your device supports Wi-Fi connections.
How do I install or update network adapter drivers?
Visit the website of your computer or network adapter’s manufacturer. Find the latest drivers for your model, download them, and follow the installation instructions. Keeping drivers updated ensures your network works well.
What should I do if my Wi-Fi turns off when I connect an Ethernet cable on my Dell Latitude laptop?
Some Dell Latitude models have a feature called “Wireless Radio Control” in the BIOS. This feature disables Wi-Fi when Ethernet is connected. To use both connections at once, enter the BIOS settings and turn off this feature.
How do I connect to a Wi-Fi network in Windows?
Click the network icon in the system tray, then select your Wi-Fi network. Enter the security key (password) and connect. For better security, use WPA3 encryption if your network supports it.
What are the common steps to troubleshoot a wireless connection?
Common steps include power cycling your modem and router. Check the Wi-Fi switch, move closer to the router, and verify your password. Try a different frequency band and reinstall your wireless adapter drivers. Test the connection on another device too.
When should I contact my Internet Service Provider (ISP) about connection issues?
Contact your ISP for widespread outages, slow speeds despite local fixes, or if your modem shows a problem. They can check for service disruptions or line issues in your area.
How can I improve the security of my wireless network?
Improve your wireless security by changing your router’s admin credentials and using strong encryption like WPA3. Set a unique and strong network password. Optionally, hide your SSID. Regularly update your router’s firmware and ensure devices have active firewall protection.
What are the best practices for maintaining a secure wired network?
For wired networks, focus on physical security. Ensure no unauthorised devices can access Ethernet ports. Use network segmentation if possible. Keep firewall software active on all devices and change passwords regularly to reduce risks.
How do I test my Ethernet connection for speed and stability?
Use online speed test tools like Ookla’s Speedtest after connecting via Ethernet. This measures your download and upload speeds. Low speeds may mean a need to check cables, router ports, or contact your ISP.
What should I consider when choosing between router brands like TP-Link, Netgear, and Linksys?
Consider typical features, performance, range, and suitability for your needs. TP-Link offers value, Netgear has robust performance, and Linksys is reliable and easy to use. Choose based on your specific needs and budget.
 By
By