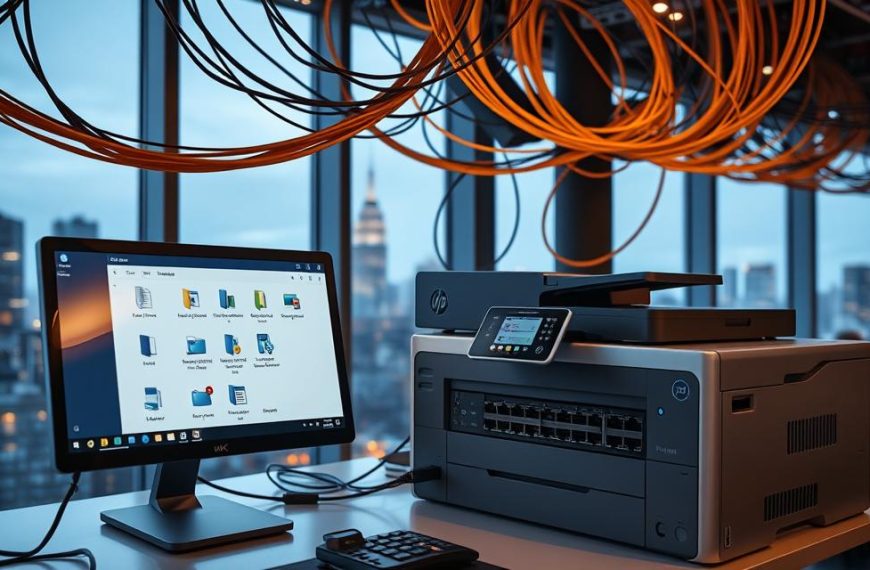
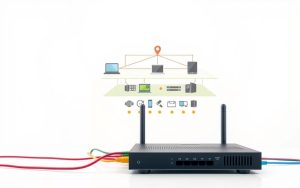
Having good network visibility makes your computing life better at home and work. When your device shows up right on the Windows 10 network, you can share and work together easily.
This connection makes sharing files and using printers simple. But, many find it hard to set up, causing problems.
Our guide shows you how to make your computer computer discoverable step by step. You’ll find solutions that fit different network setups.
Just follow these steps to fix common problems. This way, you’ll have better digital interactions with your devices.
Understanding Network Visibility in Windows 10
Windows 10’s network discovery feature lets your computer show up to other devices on the network. This is key for easy communication between computers, printers, and other devices in your area.
What It Means to Be Visible on a Network
Being visible on a network means your computer can find and be found by other devices on the same network. This makes sharing files, accessing printers, and streaming media easy between allowed devices.
Windows 10 changes these settings based on your network type. Private networks usually have discovery on, while public networks turn it off for safety. This smart setup offers both ease and security against unwanted access.
Good device visibility makes sure your computer shows up in network lists and can use shared resources. The system’s LAN settings manage these connections quietly. Knowing how network discovery works helps fix connection problems and keeps your network running smoothly.
Prerequisites for Enabling Network Visibility
Before you can make your computer visible on a network, you need to do some basic checks. These steps help avoid common problems that might stop your network from working right.
Verifying Your Network Connection Status
A good network connection is key for finding devices on a network. First, check your physical connections. Make sure Ethernet cables are plugged in well or that your Wi-Fi signal is strong.
Windows 10 has tools to check your connection. Go to Settings > Network & Internet > Status. This shows if you’re connected and what network you’re on.

Some security software might block network discovery. Turn off any extra firewalls or security apps while setting up to avoid problems.
Ensuring Windows 10 Is Updated
Microsoft updates Windows often to improve network performance and security. An old system might not have the latest updates needed for good network work.
Look for updates in Settings > Update & Security > Windows Update. Install any updates before you start setting up your network. This makes sure you have the newest drivers and security fixes.
The table below shows what you need for network visibility:
| Prerequisite | Verification Method | Importance Level |
|---|---|---|
| Active Internet Connection | Network & Internet Settings | Critical |
| Windows 10 Latest Version | Windows Update Settings | High |
| Compatible Security Settings | Firewall & Protection Settings | Medium |
| Proper Network Profile | Network Sharing Centre | High |
Doing these checks well increases your chances of setting up your network right. Getting ready ahead of time helps avoid many common problems.
How to Make Your Computer Visible on a Network in Windows 10
To make your Windows 10 computer visible on a network, you need to set up certain system settings. This ensures your device can talk to other computers safely and effectively.
Step 1: Access Network and Sharing Centre
First, open the Network and Sharing Centre. It’s the main place for all network settings. You can get there in two main ways.
Via Control Panel
Go to the Start menu and type “Control Panel” in the search bar. Pick the Control Panel app, then “Network and Internet”, and then “Network and Sharing Centre”. This way, you get to all network management tools.
Through Windows Settings
Or, press Windows Key + I to open Settings. Go to “Network & Internet” and pick “Advanced network settings”. Click on “Network and Sharing Centre” to get to the same place through the modern Settings app.
Step 2: Turn On Network Discovery
Network discovery lets your computer find other devices on the network and be seen by them. It’s key for network visibility in Windows.
Selecting the Appropriate Network Profile
Choosing the right network profile is important for security and access. Pick “Private” for trusted places like home or work. Choose “Public” for places you don’t know well, like coffee shops or airports, to stay safe.
Applying the Changes
After picking your network type, make sure “Turn on network discovery” is on. Click “Save changes” to apply your choice. Windows will then set up the right firewall rules for your profile.
Step 3: Adjust Advanced Sharing Settings
The advanced sharing settings let you control how your computer shares with other devices. Setting these up right ensures your computer works well and stays safe.
Enabling File and Printer Sharing
Under “File and printer sharing”, turn on file and printer sharing. This lets other computers see and use your shared folders and printers. It works with network discovery to make your computer fully visible.
Configuring Public Folder Options
Decide if you want others to see your public folders. Choose “Turn on sharing so anyone with network access can read and write files in the Public folders” for open settings. Pick “Turn off Public folder sharing” for more private settings.
Make sure to check all settings in the advanced sharing settings section. These settings together help make your Windows 10 computer safe and easy to use on a network.
Configuring Firewall and Security Settings
After turning on network discovery, setting up your firewall is key. It keeps your network safe and visible. Windows Firewall blocks unwanted access and lets in trusted network communications.
Allowing Network Discovery in Windows Firewall
Windows Firewall might block network discovery by default. You need to check if the right exceptions are on.
Go to Windows Firewall settings in the Control Panel. Look for “Allow an app through Windows Firewall”. Make sure “Network Discovery” is allowed for both private and public networks.
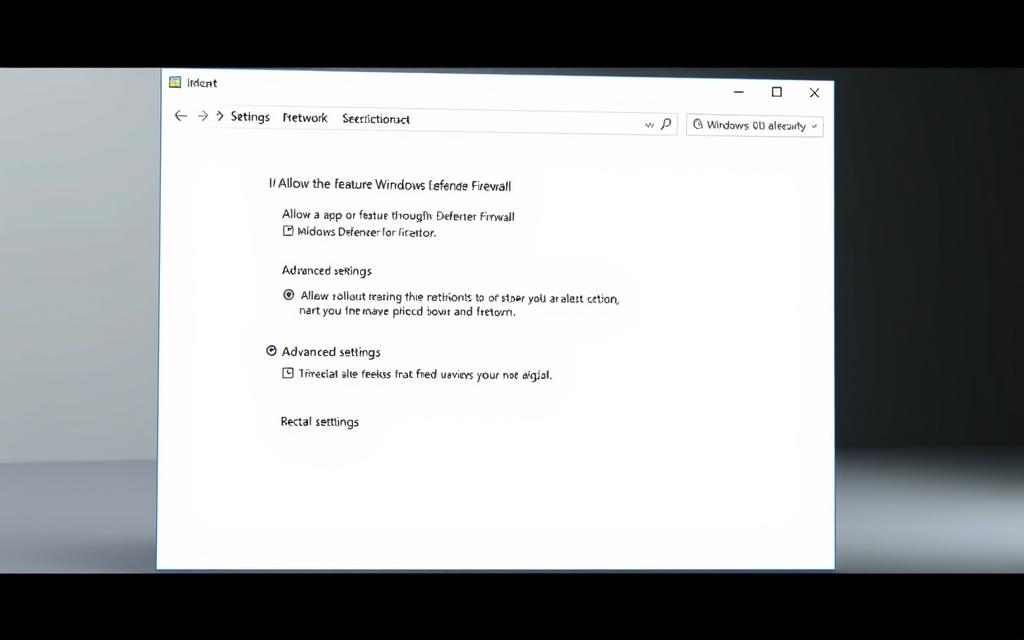
For those who know more about tech, you can set up custom rules. This lets you control who can see your network. It keeps your network security strong while letting you connect.
Security Best Practices to Follow
When you make your network visible, keep it safe. Follow these best practices to protect your system.
Don’t turn on network discovery on public networks. It keeps your computer safe from unknown devices. Always keep it off when using public Wi-Fi.
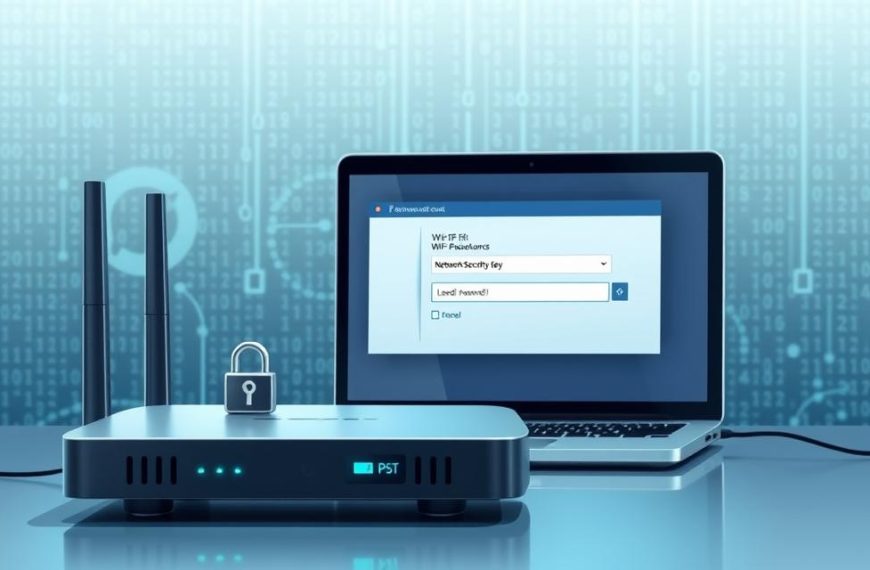
Use password-protected sharing to control who sees your stuff. This way, only people with the right password can see your files and printers.
Check your Windows firewall settings often. Make sure they match your current network use. Delete old rules that could weaken your security.
Keep your antivirus software up to date. Make sure it works well with Windows Firewall. This double layer of protection keeps your network safe and working well.
Troubleshooting Common Network Visibility Problems
Even with the right settings, computers might not show up on your network. This needs special fixes. We’ll look at common problems and how to solve them.
If Your Computer Does Not Appear on the Network
When your device won’t show up, many things could be wrong. Start with simple checks before trying harder fixes.
Checking Workgroup or Domain Settings
Wrong workgroup or domain settings can hide your device. Make sure all computers use the same workgroup name. You can check this in System Properties.
To get to System Properties, go to Control Panel or right-click This PC. Make sure all devices have the same settings.
If your computer is part of a domain, check if it’s properly joined. Workgroup settings must match across your network.
Restarting Essential Network Services
Windows services control network discovery. Restart these services if you’re having trouble:
- Function Discovery Provider Host
- Function Discovery Resource Publication
- SSDP Discovery
- UPnP Device Host
To restart services, open Services or type services.msc in Run dialog. Set each service to start automatically.
Fixing Persistent Connection Errors
Sticky connection problems need a closer look at your network. These steps help fix deeper issues.
Running the Network Troubleshooter
Windows has tools to find and fix network problems. Open the troubleshooter in Settings > Network & Internet > Status.
This tool checks your connection settings, firewall, and discovery protocols. It can solve many problems with one click.
Reviewing IP and DNS Configurations
Wrong IP configuration stops devices from talking to the network. Check if your device gets the right address from DHCP or if you’ve set it manually.
Use ipconfig in Command Prompt to see your current address. Make sure devices are on the same subnet if using static addresses.
DNS problems also hide devices. Make sure your device uses the right DNS servers. This is usually your router’s address or a reliable public DNS service.
If problems persist, try removing third-party security software. It might block network discovery. Also, check your network profile type in Settings > Network & Internet > Ethernet/Wi-Fi properties.
Advanced Techniques for Sustained Visibility
Windows 10 gives users advanced tools for network control. These tools let you manage your computer’s visibility in detail. They work well in different network settings.
Using Command Prompt for Network Checks
The Command Prompt is great for network checks. It helps keep your computer visible. Key commands include ipconfig for IP settings and ping for checking connections.
ipconfig /all shows detailed network info. It helps spot issues that affect visibility. The net view command lists all visible computers on your network. It tells you your current status.
netsh commands reset network parts to default. These tools are useful when graphical options don’t work.
Managing Multiple Network Profiles
Windows 10 lets you create different network profiles. This is great for devices that move between networks. You can set up profiles for home, office, and public spaces.
Each profile has its own settings for discovery, file sharing, and firewalls. You can choose networks as Private, Public, or Domain. Windows then applies the right visibility rules.
Regularly check and update your network profile settings. This keeps your computer secure and visible in all networks. It’s key for reliable network use.
Conclusion
This detailed Windows 10 guide shows how to make your computer visible on local networks. By following these steps, you get network visibility. This is thanks to the right settings for discovery and security.
To start, go to Network and Sharing Centre. Turn on discovery features and tweak firewall settings. These steps help share files and find devices easily on your network.
Keep in mind, you need to check your settings sometimes. This is important after Windows updates or when your network changes. Regular checks help keep your devices connected.
Setting up your network right boosts your productivity. It makes sharing resources and working together easier. With your Windows 10 system visible, it’s ready for both home and work use.
FAQ
What does it mean for my computer to be visible on a network?
When your Windows 10 device is visible on a network, it can find and be found by other devices. This is key for sharing files, using printers, and working together. You can change your network settings to make your device visible or hidden.
How do I check if my network connection is ready for enabling visibility?
First, make sure you have a stable internet connection. Then, check if Windows 10 is up to date. Also, look out for any software that might stop your device from being seen on the network.
What are the steps to make my computer visible on a network in Windows 10?
Go to the Network and Sharing Centre in Control Panel or Windows Settings. Choose your network type and turn on network discovery. Adjust sharing settings to make your device visible.
Do I need to adjust Windows Firewall settings for network visibility?
Yes, you need to set up Windows Firewall to let devices find each other. Make sure it’s not blocking anything. It’s also good to follow security tips, like using passwords and being careful on public networks.
What should I do if my computer does not appear on the network?
Check if your computer is in the right workgroup or domain. Restart services like Function Discovery Provider Host. Use Windows troubleshooters and look for software issues. Make sure your network is set to private if it’s trusted.
Are there advanced methods to diagnose and maintain network visibility?
Yes, you can use commands like ipconfig and ping in Command Prompt. For different networks, like home or work, manage your settings to keep your device visible and safe.
Why is network visibility important for home and work use?
It makes sharing resources easy, like files and printers. It boosts work and teamwork in both homes and offices. It’s a key part of using Windows 10 for networking.
Can third-party software affect my computer’s network visibility?
Yes, it can. Security software might block your device from being seen. Check their settings or disable them carefully to find and fix problems.

