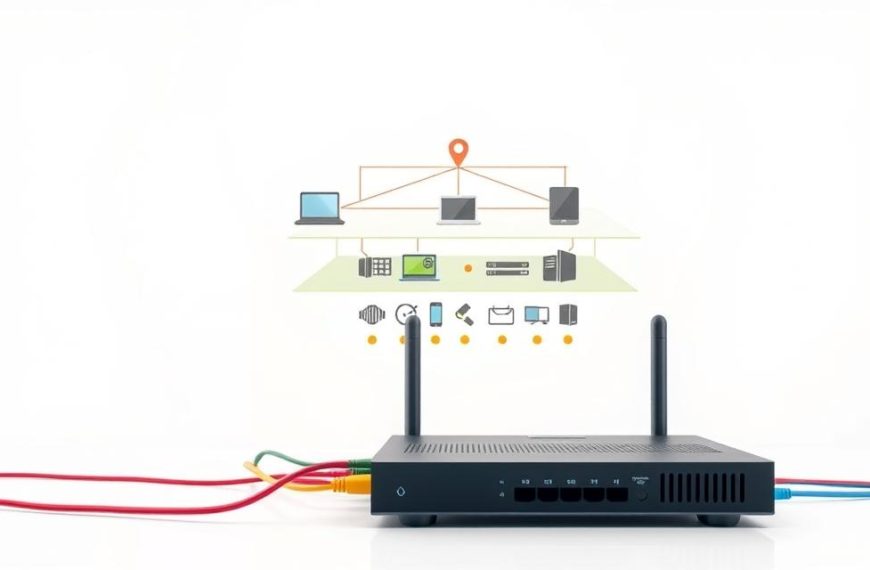
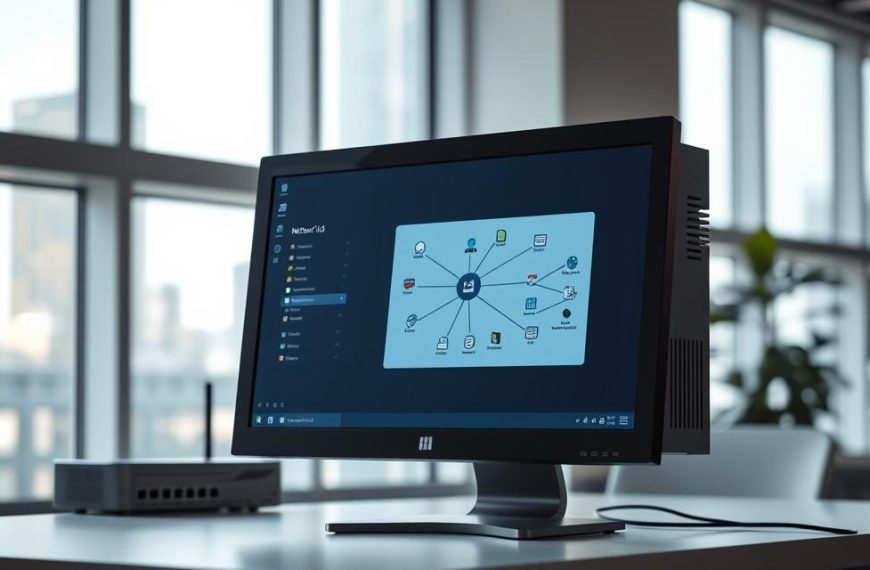
Modern computing is all about working together and using resources wisely. By setting up network sharing, your computer becomes a place where everyone can share data and devices.
This guide shows how your computer can do two things on a computer network. It can use resources and share its own with others. This makes your device both a client and a server.
Sharing files and printers has big advantages. It saves space and makes work flow better. Sharing printers also cuts down on costs and makes printing easier to manage.
Next, we’ll give you step-by-step guides for setting up these services on different operating systems. You’ll also learn how to keep your network safe and fix any problems that come up.
How I Share My Computer in Network: Step-by-Step Instructions
Sharing files and printers on a network makes computers work together better. This guide will show you the basics and steps to start sharing resources.
Understanding Network Sharing Basics
What is Network File and Printer Sharing?
Network file and printer sharing lets computers share resources. Your computer can share folders or printers, acting as a server. Other devices can then access these shared resources.
This setup is key for sharing resources. Your system can share and also get resources from other computers.
Benefits of Sharing Resources on a Network
Sharing resources saves money and makes things easier. Cost reduction is a big plus, as everyone can use one printer instead of many.
It also makes things more convenient. You can get to files from any device without moving them. This makes work and teamwork better.
Initial Setup Requirements
Ensuring Your Computer is Network-Ready
First, check your computer’s hardware. Make sure it has a working network card and the right drivers. Also, your wireless adapter should match your network’s frequency.
For software, your computer needs a network-capable operating system. Windows, macOS, and Linux all work, but setting them up is a bit different.
Checking Network Connectivity
Before sharing, make sure your computer can connect to the network. It should get an IP address automatically or through manual setup.
Use network tools to check your connection. Ping commands help see if devices can talk to each other. This ensures your network is ready for sharing.
When you’ve checked your connection, you’re ready for the next steps in setting up your network.
Prerequisites for Successful Network Sharing
Before you start sharing your network, make sure your system is ready. Getting everything right will save you time and headaches.
Hardware and Software Requirements
Good network sharing starts with the right gear and software. These basics shape your network’s power and speed.
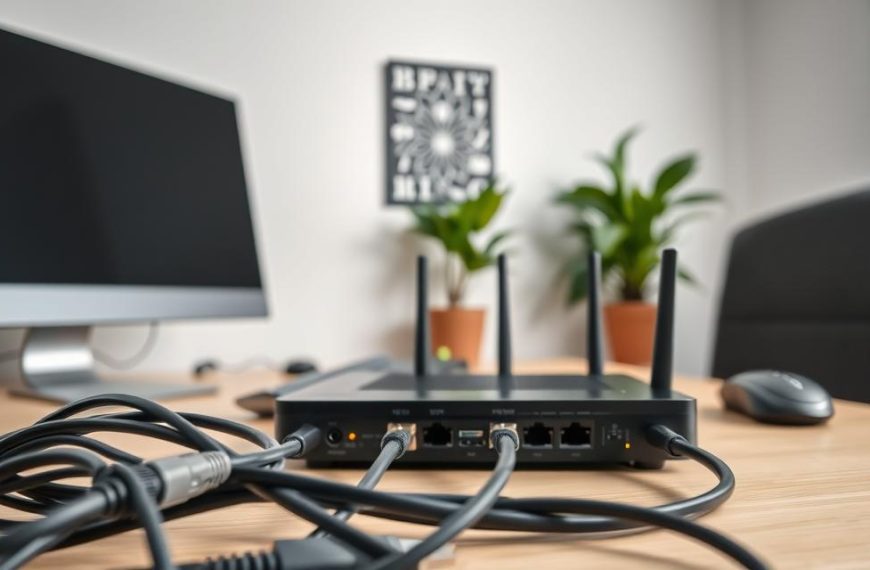
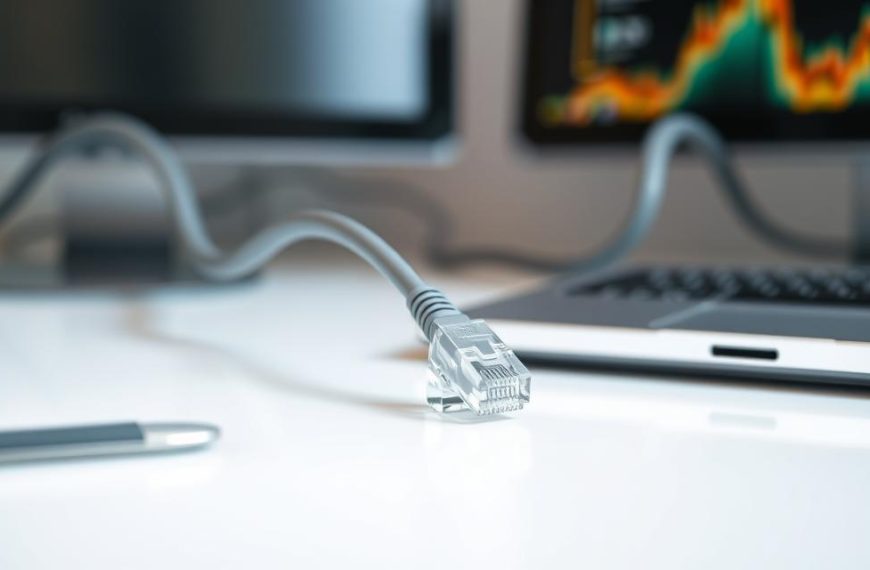
Essential Hardware: Routers, Cables, and Adapters
Your network’s core includes a few key parts. A good router is the main hub, guiding data flow. Ethernet cables give strong wired links, while Wi-Fi adapters let devices connect wirelessly.
Here are the hardware requirements you need:
- A modern router with Gigabit Ethernet ports
- Cat 6 or higher Ethernet cables for fast speeds
- Adapters that match all your devices
- A network switch for more wired connections

Right software compatibility is key for smooth device talk. Windows and macOS have great networking tools, but they work differently.
Windows 10 has sharing tools in Settings and Control Panel. macOS uses System Preferences for sharing. Make sure all devices have the latest software for best performance and safety.
Network Configuration Essentials
With the right hardware and software, setting up your network is next. These steps help devices talk and find each other.
Setting Up a Homegroup or Workgroup
Windows networks often use workgroups to group devices. But, Microsoft dropped Homegroups in Windows 10 version 1803.
For workgroup setup today:
- Windows 10/11 devices use workgroups (default: WORKGROUP)
- All computers should have the same workgroup name
- macOS devices can join Windows workgroups
- Windows 7 and 8.1 systems also need workgroup setup
Configuring IP Addresses and Subnets
Right IP configuration lets devices find each other. Most homes use DHCP for automatic IP addresses.
For those who want more control, static IP addresses help devices always find each other. Make sure all devices are on the same subnet (usually 255.255.255.0) for easy sharing. This setup is key for sharing files and printers.
Configuring File Sharing on Your Network
First, make sure your network is ready. Then, set up file sharing on your computer. This makes sure you can share files easily and keep your network safe. We’ll show you how to do this on Windows and macOS.
Enabling File Sharing on Windows
Windows has tools in the Control Panel for sharing files over the network. You need to follow three steps to make your computer shareable.
Step 1: Accessing Network and Sharing Centre
Start by opening the Control Panel from the Start menu. Go to “Network and Internet” and then “Network and Sharing Centre.” This is where you manage your network settings.
Look for “Change advanced sharing settings” in the left menu. Here, you set how your computer shares with others on the network.
Step 2: Adjusting Advanced Sharing Settings
In the advanced settings, you’ll see different profiles. For home or office networks, turn on network discovery, file and printer sharing, and let Windows manage homegroup connections.
- Turn on network discovery
- Enable file and printer sharing
- Allow Windows to manage homegroup connections
In the “All Networks” section, consider enabling public folder sharing. Also, use password-protected sharing for extra security.
Step 3: Sharing Specific Folders and Drives
To share a folder or drive, right-click it and choose “Properties.” Go to the “Sharing” tab and click “Advanced Sharing.” Then, check “Share this folder” and give it a name.
In the “Permissions” section, decide who can access the shared content and what they can do. This helps keep your data safe from unwanted access.
Enabling File Sharing on macOS
macOS makes sharing files easy through System Preferences. It works well with Apple devices and Windows computers too.
Step 1: System Preferences and Sharing Menu
Open System Preferences from the Apple menu. Go to “Sharing” and check “File Sharing” to turn it on.
The right side shows your network address and shared folders. For more help, see Apple’s guide.
Step 2: Selecting Folders to Share
To add folders, click the “+” button in the Shared Folders list. Choose folders to share. It’s better to use shared folders instead of personal ones.
To stop sharing folders, select them and click the “-” button. This helps keep your files safe.
Step 3: Setting Permissions for Users
For each shared folder, set user access in the Users column. You can choose different permission levels:
| Permission Level | Access Rights | Recommended Usage |
|---|---|---|
| Read & Write | View, edit, delete files | Collaborative folders |
| Read Only | View files only | Reference materials |
| Write Only (Drop Box) | Add files only | File submission folders |
Adjust permissions based on each user’s needs. Always check these settings to keep your network safe.
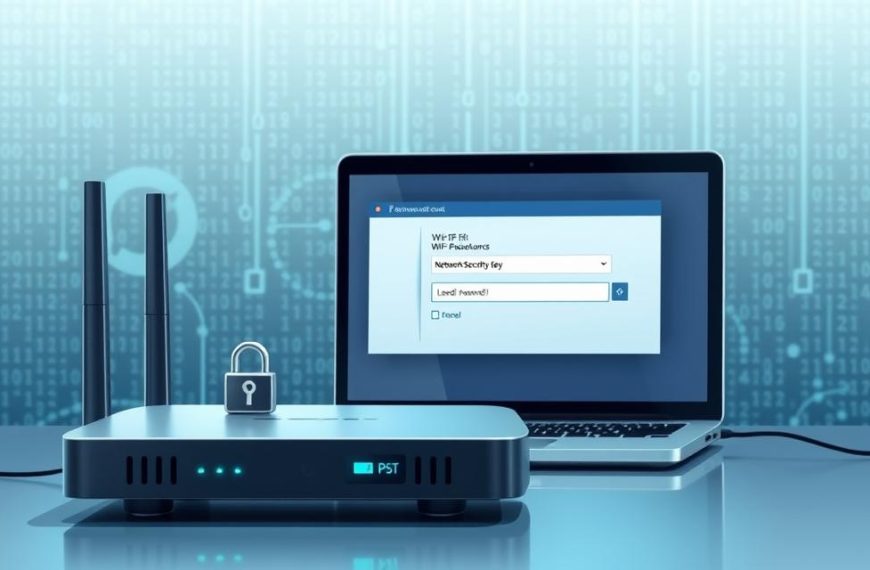
Security Considerations and Best Practises
Sharing files can be useful but also risky. Here are some ways to protect your network from unwanted access.
Setting Strong Passwords and User Permissions
Use strong passwords for users with network access. Mix letters, numbers, and special characters. Avoid easy-to-guess words or personal info.
Give users the least access they need. Check user accounts often and remove access for those who no longer need it.
Using Firewalls and Antivirus Software
Turn on your firewall to watch network traffic. Set up rules to allow sharing while blocking suspicious activity. Keep your firewall updated.
Install antivirus software with real-time scanning. Run system scans regularly to find and remove malware. Update virus definitions daily for the best protection.
Here are more ways to keep your network safe:
- Encrypt sensitive files
- Use virtual private networks for remote access
- Keep your operating system and apps updated
- Watch for unusual network activity
By following these steps, you can make your network file sharing safe and reliable. Regular checks and updates will help protect against new threats.
Configuring Printer Sharing on Your Network
Setting up printer sharing is the next step after file sharing. It lets many users use one printer, saving money and making work easier. It’s important to set it up right so everyone can print without trouble.

Sharing a Printer on Windows
Windows makes it easy to share printers. You just need to follow three steps to get it working.
Step 1: Installing and Configuring the Printer
First, plug your printer into the host computer with a USB cable. Windows will likely find and install the basic drivers. But, for the best performance, get the latest drivers from the manufacturer’s website.
Make sure the printer works well locally before setting it up for sharing. This step helps avoid network problems.
Step 2: Enabling Printer Sharing in Devices
Go to Settings > Devices > Printers & scanners. Pick your printer and click “Manage.” Then, go to “Printer properties” and the “Sharing” tab. Turn on “Share this printer” and give it a name everyone can remember.
For more security, set up permissions on the Security tab. This lets you control who can print or manage documents.
Step 3: Adding a Network Printer on Other Computers
On other computers, open Settings > Devices > Printers & scanners. Click “Add a printer or scanner” and choose the shared printer when it shows up. Windows will install the drivers you need.
If the printer doesn’t show up, use “The printer that I want isn’t listed.” Look for it in network locations or enter its path directly, like this: \\computername\printername.
Sharing a Printer on macOS
Apple makes it easy to share printers on macOS. It works well with other Apple devices and even Windows systems.
Step 1: Printer Setup in System Preferences
Plug your printer into the Mac with a USB or network cable. Open System Preferences and go to “Printers & Scanners.” Click the “+” button to add your printer if it’s not found automatically.
Use the latest drivers for the best performance. Apple’s drivers work for most printers, but specific drivers from the manufacturer can offer more features.
Step 2: Enabling Printer Sharing Options
In Printers & Scanners preferences, check “Share this printer on the network.” Then, click “Sharing Preferences” to decide who can use the printer.
You can limit access to certain users or let all network users print. For offices, setting up user groups gives you more control over printing.
Step 3: Connecting to Shared Printers from Other Devices
On other Macs, the shared printer should show up automatically. For Windows computers, make sure Bonjour Print Services for Windows is installed from Apple’s website.
Windows users can also add the printer manually using its IP address. This can solve problems with different operating systems.
Troubleshooting Common Printer Sharing Issues
Even with the right setup, you might need to fix printer sharing problems. Most issues come from connectivity or driver problems. You can solve these by following a few steps.
Resolving Connectivity Problems
If computers can’t find the network printer, first check the network connection. Use the ping command to test if devices can talk to each other: open Command Prompt and type “ping computername”.
Make sure network discovery and file and printer sharing are turned on. Windows Firewall might block printer sharing—check that you’ve allowed it.
“Most printer sharing issues resolve when you systematically check connectivity, permissions, and driver compatibility. The solution is usually simpler than it first appears.”
Updating Drivers and Software
Old drivers are a common cause of printing problems. Always check the manufacturer’s website for updates, after any operating system updates.
If problems persist, remove and reinstall the printer software. This can fix issues that updates might miss.
| Configuration Aspect | Windows Approach | macOS Approach | Cross-Platform Solution |
|---|---|---|---|
| Initial Setup | Devices & Printers control panel | System Preferences | Manufacturer installation software |
| Sharing Activation | Printer properties sharing tab | Checkbox in sharing preferences | Network discovery protocols |
| Client Connection | Add printer wizard | Automatic detection | IP address manual entry |
| Security Model | User-level permissions | User groups | Network authentication |
| Troubleshooting Tool | Printer troubleshooter | System diagnostics | Ping and connection tests |
This comparison shows how different systems handle printer sharing. The best method depends on your network and user needs.
Conclusion
Setting up efficient network sharing changes how teams work together and share resources. This summary shows the main steps to create a smooth digital space on all your devices.
For successful sharing, start by setting up your hardware and software right. Make sure all devices can talk to each other and keep them safe with the latest updates. Watch your shared resources closely to stop unwanted access and keep things running smoothly.
Think about growing your network as your team gets bigger. Adding cloud services and mobile access can improve your setup. But always keep your network safe as you grow it.
For more ways to connect devices, check out guides on how to connect multiple computers. These guides offer more ways to make strong connections between devices.
By following these tips, your shared network will stay reliable, safe, and fast. Keep it in top shape by regularly checking and updating your sharing setup.
FAQ
What is network file and printer sharing?
Network file and printer sharing lets computers on the same network share files and printers. It helps users work together better, saves money on hardware, and makes resources easier to access. This boosts convenience and productivity.
Can a computer act as both a client and a server in network sharing?
Yes, a computer can be both a client and a server. As a server, it offers shared resources like files or printers. As a client, it uses resources shared by other computers.
What hardware is required for setting up network sharing?
You need a good router, Ethernet cables or Wi-Fi adapters, and printers that work on the network. Make sure all devices are connected to the same network for easy sharing.
Is homegroup available in Windows 10 for network sharing?
No, homegroup is not available in Windows 10. Instead, use workgroup settings or other sharing methods like the Network and Sharing Centre to set up shared resources.
How do I enable file sharing on a Windows computer?
To share files on Windows, go to the Network and Sharing Centre. Change the advanced sharing settings and pick which folders to share. Make sure to set the right permissions for access.
How do I share a printer on a macOS network?
On macOS, open System Preferences and choose Printers & Scanners. Pick the printer you want to share and turn on the “Share this printer” option. Other devices can then connect to it.
What security measures should I take when sharing resources on a network?
Use strong passwords, turn on firewalls, and keep antivirus software up to date. Limit access to only those who should have it. Always check your sharing settings to keep your network safe.
What should I do if a shared printer is not responding on the network?
First, check if your network is working and the printer is on and shared correctly. Make sure drivers are current on all devices. If problems persist, restart the printer and computers.
Are there compatibility issues when sharing between Windows and macOS systems?
Both systems use standard network protocols, but make sure shared resources are in compatible formats. For example, use SMB for file sharing. Adjust settings for easy access across platforms.
How can I troubleshoot file sharing connectivity problems?
Make sure all devices are on the same network and subnet. Check firewall settings and network discovery. Restarting the router or computers often solves common issues.
 By
By