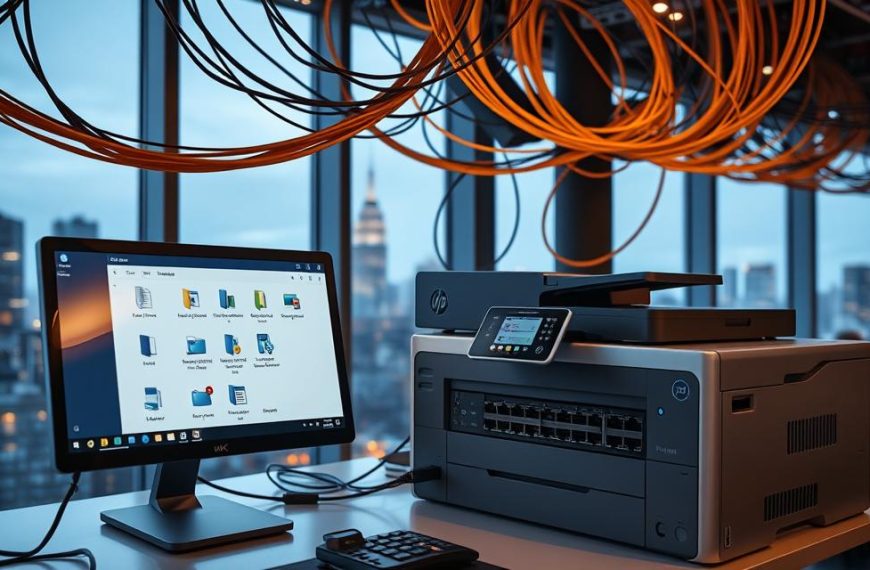
Setting up a local network connection between devices brings many benefits. It makes sharing files easy, lets you use printers together, and helps teams work better without needing the internet.
Our detailed step-by-step network guide makes this process simple for everyone. It works for both Windows and macOS users. Our clear steps help you get same network access easily.
We also cover more advanced topics like Remote Desktop connections. This LAN connection tutorial helps you get the most out of your networked devices.
By following our expert advice, you can set up efficient digital workspaces. These improve productivity and make your daily computer tasks easier.
Understanding Network Basics for Local Connections
Before you start connecting computers, it’s key to know the basics of local area networks. Understanding these concepts will save you time and headaches when setting up your network.
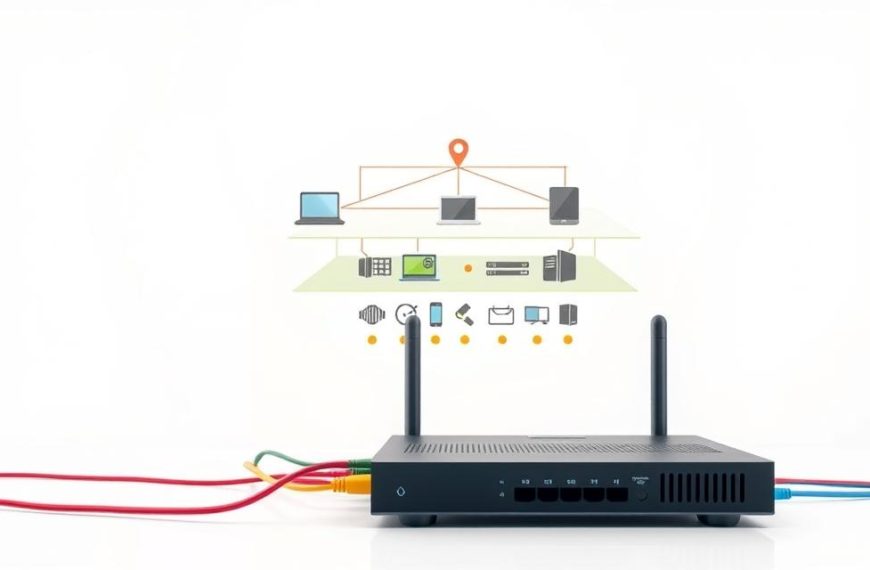
Local Area Networks, or LANs, let devices in a small area talk to each other and share stuff. This is true whether you’re setting up a home office or a small business.
Identifying Your Network Configuration
First, figure out what you need. Think about how many devices you’ll connect and where they’ll go. This will help you decide on the size of your LAN setup and what gear you’ll need.
For homes or small offices, you might connect 2-10 devices. If you have more devices or a bigger space, you might need more equipment for a stable network.
How you arrange your computers affects your network hardware router switch needs. You might need wired, wireless, or a mix of connections.
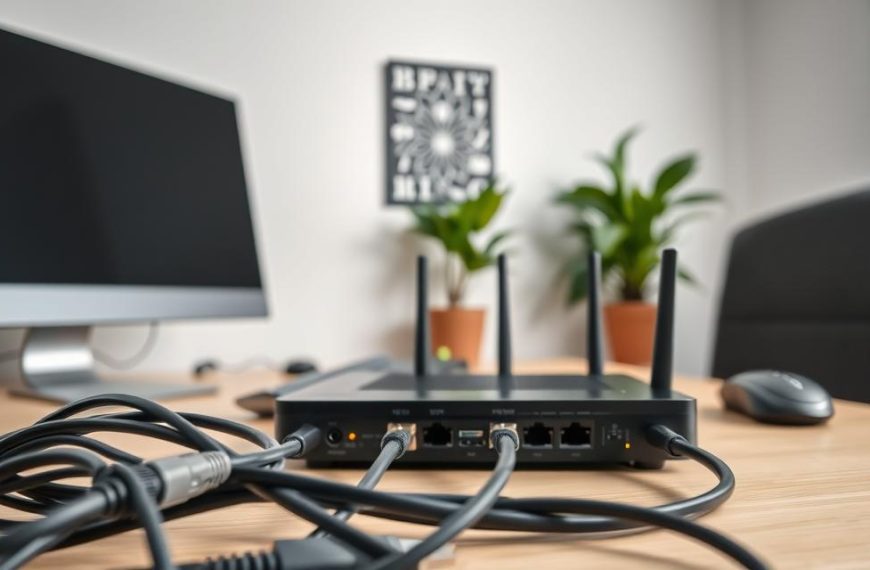
Building a reliable network is more than just plugging in devices. Use good Ethernet cabling for wired connections. Make sure cables are secure to avoid disconnections.
Where you put your router is important for network speed. Place it in the middle of your space, away from things that might interfere. For buildings with more than one floor, put the router on the middle floor for best coverage.
Choose networking gear that fits your needs now but can grow with you. Good network hardware router switch stuff from trusted brands will last longer and work better.
If you want to learn more about networking, IBM has lots of info on networking basics. It can really help you understand more.
| Network Component | Primary Function | Considerations for Selection |
|---|---|---|
| Modem | Connects to internet service provider | Compatibility with your ISP’s technology |
| Router | Directs traffic between devices and internet | Number of ports, wireless standards support |
| Switch | Expands number of available ports | Number of ports needed, managed vs unmanaged |
| Ethernet Cables | Physical connection between devices | Category rating (Cat 5e, Cat 6, Cat 7) |
Following these steps will help you set up a stable network configuration. Good planning and quality gear are key to a smooth LAN setup.
Don’t forget about cable management in your stable network configuration. Organised cables look good and prevent problems. They also make fixing issues easier.
When using Ethernet cabling, leave some slack at connections. This helps avoid damage and keeps your cables working well for longer.
How to Connect to Computer on Same Network Using Windows
Microsoft Windows makes it easy to share resources across networks. It has built-in features for connecting computers smoothly. This guide will show you how to set up reliable Windows network sharing.

Step 1: Enable Network Discovery and File Sharing in Windows 10 or 11
Start by going to your network settings in the Control Panel or Settings app. Go to Network and Internet settings, then Network and Sharing Center. Here, you can change your sharing settings.
In the “Advanced sharing settings,” turn on network discovery and file and printer sharing. This lets your computer see other devices and share resources.
Apply these settings to all network types—private, guest, and public. Turning on network discovery is the first step to connect your Windows.
Step 2: Access Shared Folders via File Explorer
With network discovery on, open File Explorer from your taskbar or start menu. Look for “Network” in the left pane. Clicking it shows all computers and devices on your network.
Double-click any computer icon to see its shared folders. You might need to enter a password if the remote computer asks for it. Connecting successfully lets you access shared folders and resources.
To access network locations quickly, map network drives. Right-click a shared folder and choose “Map network drive.”
Security Warnings and Best Practices
Don’t ignore Windows network security when sharing. You might see security warnings when accessing unknown networks. Always check the source before connecting.
“Network security isn’t just about protecting against external threats—it’s about managing internal access intelligently.”
Here are key security steps:
- Create strong, unique passwords for all accounts
- Keep Windows security patches up to date
- Set up firewall settings to allow local traffic while blocking external access
- Limit sharing permissions to only necessary folders and users
The table below compares sharing permission levels. It helps you make secure choices:
| Permission Level | Access Rights | Recommended Use |
|---|---|---|
| Read Only | View files without modification | Public resources or general documents |
| Read/Write | Full file access including edits | Collaborative projects with trusted users |
| Full Control | Complete administrative access | System administrators only |
Remember, good Windows network security balances access and protection. Always check your sharing settings and connected devices to keep your network safe.
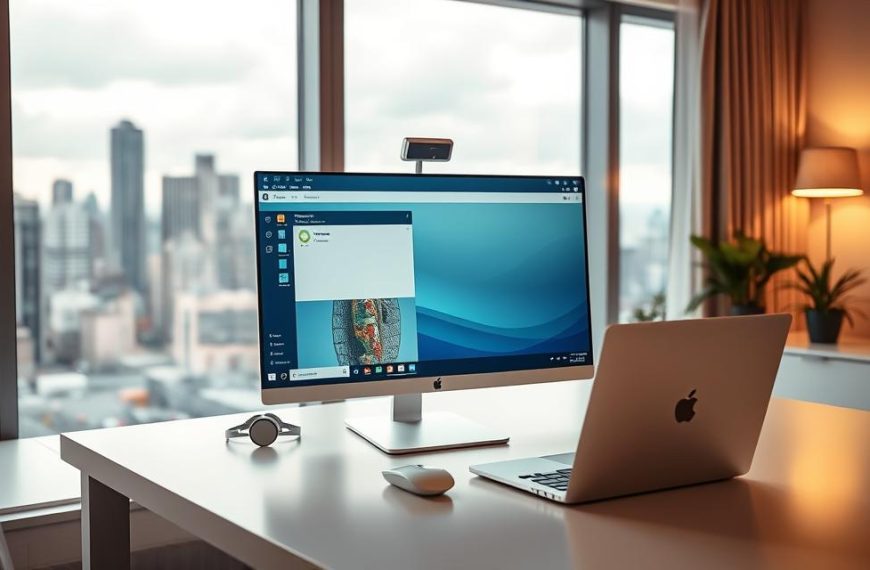
Connecting Between Computers on macOS
Apple’s macOS makes networking easy for Mac users. It lets you share files and resources without hassle. Whether at work or home, connecting Apple computers is simple.
Step 1: Configure Sharing Settings in System Preferences
Start by opening System Preferences from your Apple menu or Dock. Go to the Sharing pane to see your options. Turn on File Sharing by checking the box next to it.
To share folders, click the ‘+’ button under Shared Folders. Choose who can access each folder by selecting it and adjusting permissions in the Users column. It’s wise to limit access to read-only when editing isn’t needed.
Make a note of your computer’s network name at the top of the Sharing window. This name helps other devices find your Mac on the network.
Step 2: Using Finder to Connect to Another Mac
Finder is the easiest way to connect Macs. Open a new Finder window and find the Network section in the sidebar. If it’s not there, turn it on in Finder Preferences under Sidebar.
Clicking Network shows all devices on your network. Find the Mac you want to connect to and double-click its icon. You’ll need to enter the target computer’s username and password to authenticate.
After connecting, you can access shared folders and move files between systems. The link stays active until you disconnect or restart your computer.
To make frequent connections easier, add often-used Macs to your Finder sidebar. Just drag the connected server icon to your sidebar while connected.
Utilising Remote Desktop for Advanced Access
Remote desktop solutions give you full control over another computer on your network. This changes how you offer technical support or access your main machine from anywhere.

Today, remote access software is available in many forms. You can choose from built-in tools to third-party apps. Each has its own benefits, depending on what you need and how tech-savvy you are.
Setting Up Windows Remote Desktop Connection
Windows has a strong remote desktop feature for local networks. You need to set it up on both the host and client computers.
First, turn on Remote Desktop on the computer you want to access:
- Open System Properties from Control Panel
- Select the Remote tab
- Check “Allow remote connections to this computer”
- Remember the computer’s name for later
Then, find Remote Desktop Connection on your local computer. Enter the host computer’s name and connect. You’ll need the right login details.
This built-in option works well for Windows-to-Windows connections. It’s great for system admins and power users who need to access often.
Using Applications like TeamViewer or AnyDesk
Third-party tools offer easy setup and work across different platforms. They’re perfect for those who aren’t as tech-savvy or have different operating systems.
The TeamViewer setup starts with installing it on both computers. You get a unique ID and password for the host. Then, enter these on the client device. The software takes care of the network setup.
Following an AnyDesk guide shows you how to install and connect easily. Both apps have free versions for personal use, with lots of features.
Third-party solutions have big advantages:
- They work on Windows, macOS, Linux, and mobile
- They make network setup simple
- You can transfer files during sessions
- They get regular security updates
| Feature | Windows Remote Desktop | TeamViewer | AnyDesk |
|---|---|---|---|
| Cross-Platform Support | Limited | Excellent | Excellent |
| Setup Complexity | Moderate | Easy | Easy |
| Security Features | Enterprise-grade | Strong | Strong |
| Cost for Personal Use | Free | Free | Free |
Choosing between built-in and third-party remote access software depends on your needs. For regular Windows use, the native option is best. But for mixed environments or occasional use, TeamViewer or AnyDesk are great choices.
Always set up strong security, no matter your choice. Use good passwords and keep your software up to date. This keeps your Remote Desktop Connection safe and working well.
Troubleshooting Common Network Connection Issues
Network connections can fail even with the right setup. Knowing how to find and fix these issues is key to keeping your network stable.
Resolving IP Address and DNS Problems
IP address conflicts happen when two devices have the same address. This leads to communication problems and connection drops. Using a network switch without DHCP means you must assign IP addresses manually to avoid these issues.
The Windows Command Prompt is a great tool for diagnosing problems. Use ipconfig /all to see your current IP settings. For DNS issues, try ipconfig /flushdns to clear your DNS cache.
To solve IP address conflicts manually:
- Open Network and Sharing Centre
- Select Change adapter settings
- Right-click your network connection and choose Properties
- Select Internet Protocol Version 4 (TCP/IPv4)
- Set up manual IP settings that fit your network
Adjusting Firewall and Antivirus Settings
Security apps can sometimes block needed network traffic. Your firewall settings might stop file sharing between computers. It’s vital to adjust these settings carefully.
Windows Defender and other antivirus programs can block network discovery. Make exceptions for file and printer sharing services. Also, mark network types as trusted locations in your security software.
For ongoing connection issues:
- Turn off your firewall and antivirus to check if you can connect
- If you can connect, make permanent exceptions in your security software
- Enable Network Discovery and File Sharing in Windows Defender settings
- Add the other computer’s IP address to your allowed devices list
Always turn your security back on after testing. The right setup keeps your network accessible and your computer safe.
Conclusion
Linking computers on the same network is vital for sharing resources and working together. This guide has shown you how to set up and use Windows Remote Desktop or apps like AnyDesk on Windows and macOS.
Setting up sharing settings and network discovery correctly makes accessing files and apps easy. A stable connection helps avoid interruptions and boosts productivity.
If you face problems, the troubleshooting section has answers for common issues like IP conflicts or firewall blocks. With these tips, you can keep your local connections strong. This makes work smoother in any environment.
FAQ
What are the main benefits of connecting computers on a local area network (LAN)?
A LAN lets you share files and printers easily. It makes working together better. It also helps keep data safe and boosts productivity at home or in the office.
What hardware is essential for setting up a local network?
You need a router to manage traffic and a modem for the internet. Use Ethernet cables for wired links. For wireless, you’ll need Wi-Fi in devices and the router.
How can I identify the best network configuration for my needs?
Think about how many devices you need to connect. Consider your space’s layout and what’s more important, speed or mobility. For small setups, a basic router works. Larger areas might need more switches or mesh systems.
How do I enable network discovery and file sharing in Windows?
In Windows 10 or 11, go to Settings > Network & Internet > Advanced network settings > Advanced sharing settings. Turn on network discovery and file sharing for private networks to share resources.
How can I access shared folders on another Windows computer using File Explorer?
Open File Explorer and click “Network” in the left pane. You’ll see other computers. Double-click the one you want to access, if you have the right permissions.
How do I configure file sharing on a macOS system?
Go to System Preferences > Sharing, then check the “File Sharing” box. Choose which folders to share and set user permissions. Make sure your Mac is on the same network as the devices you want to connect with.
What is the process for connecting to another Mac using Finder?
In Finder, click “Network” under Locations in the sidebar. Pick the Mac you want to access, and you might need to enter login details. Once in, you can explore shared files and folders.
How do I set up Windows Remote Desktop Connection?
On the host PC, enable Remote Desktop via Settings > System > Remote Desktop. Note the PC’s name. On the client PC, open Remote Desktop Connection, enter the host PC’s name, and log in with the correct details.
Are third-party remote access applications like TeamViewer or AnyDesk easy to set up?
Yes, apps like TeamViewer and AnyDesk are easy to use. Just install them on both computers, create an account or use a generated ID and password, and connect through their simple interfaces.
What should I do if I encounter IP address conflicts on my network?
IP conflicts happen when two devices have the same address. Use the command prompt and enter `ipconfig /release` followed by `ipconfig /renew` to get a new address. Or, set static IPs manually, making sure each is unique.
How can I adjust my firewall or antivirus settings to allow network sharing?
In your security software, look for options to create exceptions for file and printer sharing. You might need to allow specific ports or applications. Always check these changes don’t weaken your security.
Why can’t I see other computers on my network even after enabling sharing settings?
This might be due to network discovery being off, wrong workgroup settings, or firewall blocks. Make sure all devices are on the same network and subnet. Also, check sharing settings and permissions on each computer.
Is it possible to connect a Windows computer to a Mac on the same network?
Yes, both systems support sharing across platforms. On the Mac, enable file sharing and make sure SMB sharing is on. On Windows, use File Explorer to access the Mac by its IP address or network name, with the right login details.
 By
By