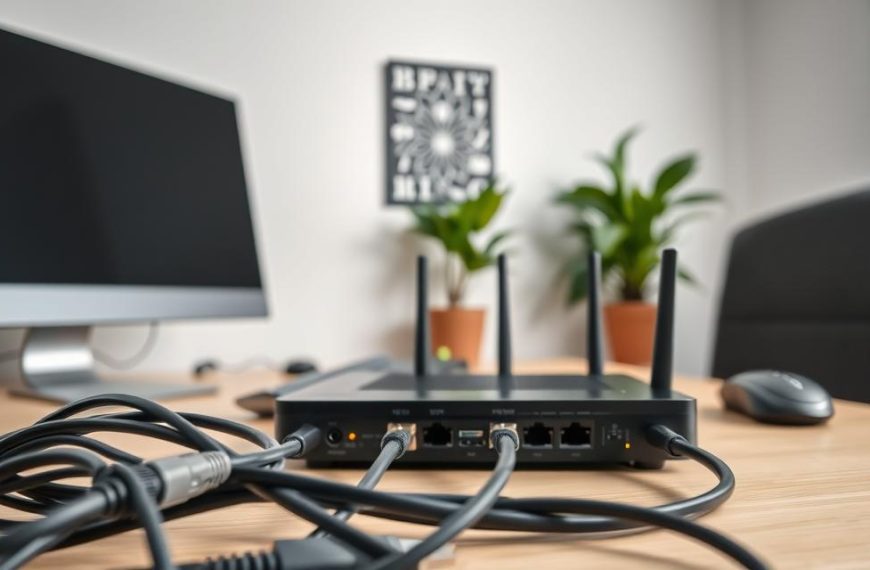
Many users look for easy ways to control another PC in their local area. This is often needed when working from different rooms or helping family members with tech problems.
A shared wireless network is ideal for this local network connection. It gets rid of the need for external internet and keeps things secure.
This guide looks at different remote desktop access options for today’s users. We’ll check out both built-in features and special third-party apps.
Knowing how to use WiFi remote control is very useful. It can make managing computers much easier. The next parts will show you how to do it well.
Understanding Remote Access Within Local Networks
Working on your local Wi-Fi lets you collaborate and manage more easily. It’s different from using the internet. Local network access has its own benefits and setup needs.
What Constitutes Remote Access on a Local Network
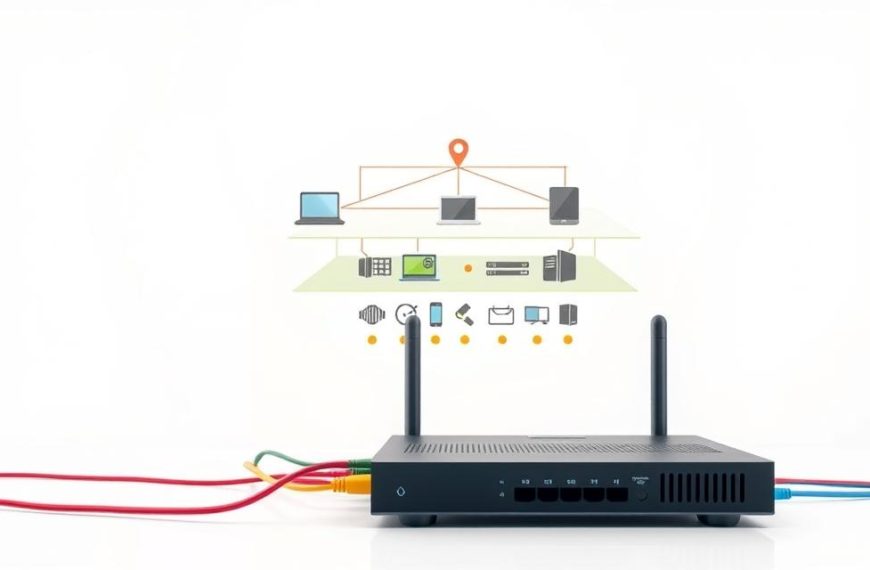
Remote access on a local network means controlling one computer from another on the same Wi-Fi. This LAN remote access connects machines directly, without needing the internet.
It works by sending signals across your network. Your keyboard and mouse commands go to the other computer. Then, its screen shows on your device. This happens smoothly in your local network.
Benefits of Accessing Computers on the Same Wi-Fi
The same network benefits are more than just convenient. You can access files directly, without cloud storage. Troubleshooting is easier when you can see another computer’s interface.
Sharing resources changes how you use devices. Printers, scanners, and storage are available to all. These benefits make local remote access key for homes and offices.
Essential Prerequisites for Successful Connection
For remote access to work well, certain connection requirements must be met. Both devices need to be on the same network subnet and IP address range. This keeps communication local.
Network discovery settings must allow devices to find each other. User accounts need the right permissions for remote access. Firewalls should let local network traffic through, without risking security.
These technical basics are the foundation for reliable connections. Knowing them helps solve problems before they disrupt your work.
How to Access Computer on Same Wifi Network Using Built-in Windows Tools
Windows has tools that let you access devices on the same network. These tools are easy to use and don’t need extra software.
The Remote Desktop Protocol (RDP) is Microsoft’s main tool for remote access. It works well in Windows environments. This section will show you how to set it up for local network connections.
Configuring Remote Desktop on Windows 10 and 11
Before you can connect remotely, you need to set up the host computer. Windows 10 and 11 have similar steps. But, Remote Desktop isn’t available on Home editions.
Enabling Remote Desktop Connections
To start, turn on remote access on the target computer. Go to System Properties in the Control Panel or right-click ‘This PC’ and choose Properties.
In the Remote Desktop section, turn on the connection option. You can choose to allow connections from any version of Remote Desktop or only from devices with Network Level Authentication.

Network Level Authentication adds an extra security layer. It requires authentication before a full remote session starts. This helps protect against malware and unauthorized access.
Setting Up User Permissions and Access
After turning on remote desktop, set up user permissions. Click ‘Select users that can remotely access this PC’ to add allowed accounts.
Admin accounts usually have remote access by default. For standard user accounts, you need to give them permission through this interface.
Creating special user accounts for remote access is a good idea. It helps keep the host system secure by limiting access.
Establishing Connection Through Remote Desktop Protocol
Once the host computer is set up, connecting remotely is easy. You just need to find the target device and start the connection from your client machine.
Finding the Target Computer’s IP Address
To find the IP address, use the Command Prompt on the host machine. Type ‘ipconfig’ and press Enter to see network details.
Look for the IPv4 Address under your active network connection. This number is what you’ll use to connect to the computer remotely.
For reliable access, give the host computer a static IP address in your router settings. Dynamic IP addresses can change, making connections unreliable.
| Command | Function | Expected Output |
|---|---|---|
| ipconfig | Displays IP configuration | IPv4 address, subnet mask, default gateway |
| query user | Shows logged-in users | Username, session state, idle time |
| hostname | Reveals computer name | Network identification name |
Connecting from Another Windows Device
On your client computer, open Remote Desktop Connection. Type the host computer’s IP address or name in the Computer field.
Click Connect and enter the credentials of an authorised user account. Make sure to use the exact username and password from the host machine.
Before connecting, click Show Options to set display settings, local resources, and experience options. These settings improve performance based on your network.
Successful connections will show the host computer’s desktop on your client machine. You can interact with the remote system as if you were there.
Both computers must be on the same network for remote sessions. For help across different networks, Microsoft offers Quick Assist.
Keep both systems updated for compatibility and security. Microsoft often updates Remote Desktop through Windows updates.
Alternative Remote Access Methods for Different Operating Systems
Windows has great built-in tools, but today’s networks use many operating systems. Knowing how to access each one ensures you can connect everywhere.
Using Screen Sharing on macOS Systems
Apple’s macOS has strong screen sharing features. They work well between Macs on the same network.
Enabling Screen Sharing Preferences
To start screen sharing, just set it up in System Preferences:
- Open System Preferences and select Sharing
- Check the box next to Screen Sharing in the service list
- Configure access permissions for specific users or everyone
- Note the computer’s network address displayed below
For better security, limit access to certain users. This way, only those you trust can connect.
Connecting Between Apple Devices
After setting it up, connecting is easy:
- On the client Mac, open Finder and select Network
- Locate the host computer in the devices list
- Click Share Screen or enter the provided address manually
- Authenticate with valid user credentials when prompted
The connection is fast, giving you full access to the remote desktop. This macOS screen sharing works well across Apple devices.
SSH Access for Linux and Unix Systems
For Linux and Unix, Secure Shell (SSH) is the go-to for remote access. It keeps communications safe.
Installing and Configuring SSH Server
Most Linux systems don’t have SSH by default. You’ll need to install it:
- Ubuntu/Debian: sudo apt install openssh-server
- CentOS/RHEL: sudo yum install openssh-server
- Arch Linux: sudo pacman -S openssh
After installing, the server usually starts automatically. Check its status with: sudo systemctl status ssh. You can adjust settings in /etc/ssh/sshd_config.
Secure Command Line Access Methods
SSH connections need basic terminal skills:
- Open terminal on the client machine
- Enter: ssh username@host_ip_address
- Accept the host key fingerprint when first connecting
- Provide the user password when prompted
This Linux SSH access method gives full control of the remote system. For Unix remote command line tasks, SSH is the best choice for security. It keeps your data safe from prying eyes.
For those who use SSH a lot, setting up key-based authentication can make things easier and safer.
Third-Party Software Solutions for Enhanced Remote Access
For those looking for more, third-party remote access tools offer great cross-platform connectivity. They need little setup and often outperform built-in options with extra features.
TeamViewer for Cross-Platform Accessibility
TeamViewer is a top choice for remote access across various platforms. It connects Windows, macOS, Linux, and mobile devices reliably and efficiently.
Installation and Basic Configuration
Getting TeamViewer involves downloading it from the official site. The setup is easy to follow.
Setting it up is simple. Just open the app to get your unique ID and password. These let you connect remotely from any compatible device.
For ongoing access, create a free TeamViewer account. This lets you manage devices through a personal list in the app.
Establishing Secure Connections
TeamViewer uses strong encryption for all sessions. This keeps data safe during transmission.
It uses RSA and AES encryption. These ensure your remote access is secure from hackers.
Adding two-factor authentication boosts security. This adds an extra step when accessing remote devices.

AnyDesk for Lightweight Remote Control
AnyDesk is a light alternative for remote control. It uses few system resources but works smoothly.
Setting Up Unattended Access
To set up unattended access with AnyDesk, choose “Install” when starting. Then, go to “Settings” and “Security” to set a permanent password.
For better security, name trusted devices. This makes managing connections easier and keeps access controlled.
Performance Optimisation Tips
AnyDesk has settings to boost session performance. Lowering display quality can make it faster on slow connections.
Here are tips for better performance:
- Reduce colour depth for faster data
- Turn off wallpaper on remote machines
- Use hardware acceleration when possible
- Adjust frame rate for network speed
Regular updates are key for AnyDesk. They bring performance and security boosts.
For transferring files, use the transfer panel. It’s more reliable and faster than drag-and-drop.
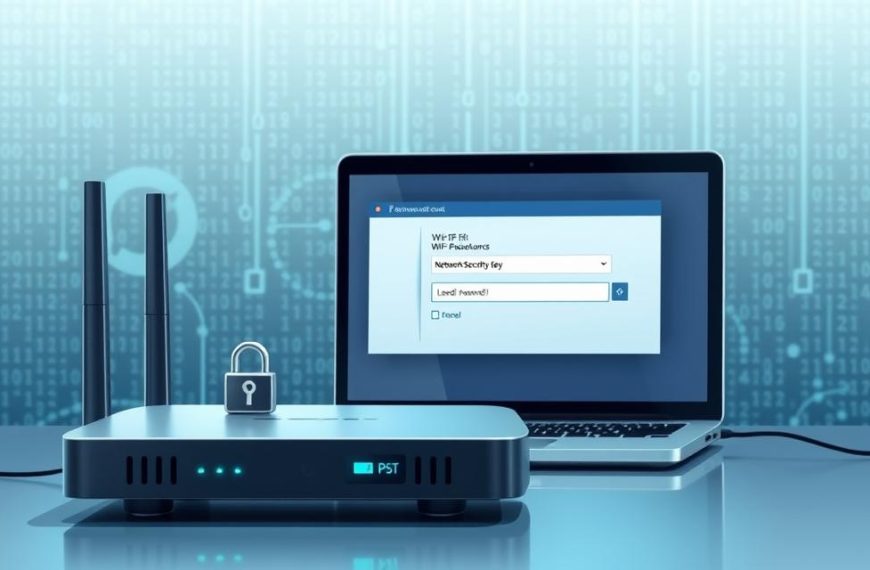
Security Considerations and Best Practices
Setting up remote connections is convenient, but strong security is essential. Good remote access security keeps your network safe. It stops your convenience from turning into a risk.
Network Security Measures to Implement
Set up your firewall to only allow certain IP addresses. This blocks unwanted connections. Here are key network protections:
- Enable VPN connections for encrypted data transmission
- Segment your network to isolate remote access points
- Regularly update router firmware and security patches
- Disable unused ports and services on target computers
These steps build strong defences against hackers.
Password Protection and Authentication Methods
Simple passwords aren’t enough against today’s threats. Use strong authentication methods like:
- Complex passwords with a minimum of 12 characters
- Multi-factor authentication using mobile devices or tokens
- Biometric verification if your systems support it
- Change passwords regularly for all users
Two-factor authentication cuts down on hacking attempts by over 99%, studies show.
Monitoring and Logging Access Attempts
Keep an eye on your network with network monitoring. Set up detailed logging for:
- Successful and failed login attempts
- User details and when they logged in
- Files accessed during remote sessions
- How long each session lasted
Check these logs every week for odd patterns. Use automated alerts for quick notifications of unusual activity.
Security is an ongoing task, not just a one-time setup. Regular checks keep your defences up against new threats.
Conclusion
This summary shows how to connect computers on the same Wi-Fi network. Tools like Windows Remote Desktop and macOS Screen Sharing are great. Linux SSH is also useful. Third-party apps like TeamViewer and AnyDesk work across different platforms.
Keeping your remote connections secure is key. Use strong passwords and network encryption. Also, keep an eye on who’s accessing your network. These steps help keep your data safe.
Think about what you need before picking a method. Look at your operating system and what features you want. Choose a tool that fits your needs for easy remote control.
FAQ
What is remote access on a local network?
Remote access lets you control another computer over Wi-Fi or LAN. You don’t need the internet. It’s like you’re right there, using Remote Desktop or screen sharing.
What are the benefits of accessing a computer on the same Wi-Fi network?
It’s great for getting files quickly and for tech help. You can share printers or storage easily. It makes working across devices simple, without needing the internet.
What are the prerequisites for a successful remote connection on the same network?
First, both devices must be on the same network. Network discovery must be enabled. You need the right user permissions and firewall settings.
Also, make sure the needed services or apps are running on both devices.
How do I enable Remote Desktop on a Windows 10 or 11 computer?
Go to Settings > System > Remote Desktop. Turn the switch on. But, it’s not for Windows Home.
You also need to allow certain users to connect remotely.
How do I find the IP address of the host computer for a Remote Desktop connection?
Open Command Prompt and type ipconfig. Look for the IPv4 address. This is what the client uses to connect.
Can I remotely access a macOS device from another Apple product?
Yes, macOS has Screen Sharing. Enable it in System Preferences > Sharing. Then, other Apple devices can connect using the host’s name or IP.
How does SSH work for remote access on Linux systems?
A> SSH gives secure command-line access to Linux or Unix systems. Install OpenSSH on the host and configure it. Use a terminal on another device to connect via the host’s IP.
SSH is encrypted and powerful, without needing a graphical interface.
What are the advantages of using third-party software like TeamViewer or AnyDesk?
Tools like TeamViewer and AnyDesk work across platforms. They’re easy to set up and don’t need complex network settings. They offer features like file transfer and session recording.
How can I ensure my remote access setup is secure?
A> Use strong network security. Set up your firewall to only allow certain IP addresses. Use a VPN for extra encryption.
Choose strong passwords and enable two-factor authentication. Always watch for and log any suspicious activity.
Is it possible to set up unattended access with software like AnyDesk?
Yes, AnyDesk lets you set up unattended access. Just set a permanent password on the host. This way, you can connect anytime without needing permission.
Do I need professional editions of Windows to use Remote Desktop?
Yes, Remote Desktop is only in Windows Pro, Enterprise, and Education. Home editions can’t host Remote Desktop connections, but they can connect.
What should I do if my remote connection is blocked by a firewall?
Make sure the right ports are open in the firewall settings. For RDP, it’s port 3389. For SSH, it’s port 22. You might need to add an exception or rule.
 By
By